
Flattening Shared Presentations
Keynote 7.1's Post Interactive Presentations feature leaves your presentations open to download:
Flatten your posted presentations to prevent offline editing.
Flatten Your Posted Interactive Presentations to Prevent Offline Editing
Updated 4/11/2017
Overview
As noted in our Tips and Cautions for Posting Interactive Presentations with Keynote 7.1 overview, this new feature makes it very easy to share your presentations on WordPress, Medium and other websites - but it leaves your presentations open to download and offline editing by anyone clicking the View in Keynote link at the bottom of each presentation you post.
Apple's Product Security team has since confirmed via email that this behavior is as designed - the specific file you're sharing can't be edited once marked View Only, but it is "expected that users can download and edit a local copy of the presentation" once it's shared. So it doesn't look like this will be addressed any time soon - if at all - which puts a bit of a damper on this feature.
Fortunately, it's relatively easy to create a flattened version of your presentation that you can share using this feature without leaving yourself exposed to offline editing. Bear in mind that any Object Transitions like Magic Move won't work on flats, since it's essentially transitioning from image-to-image instead of object-to-object: pre-edit a version of your show before hand as needed to optimize for simple transitions between slide-to-slide or build-to-build snapshots.
The Basics
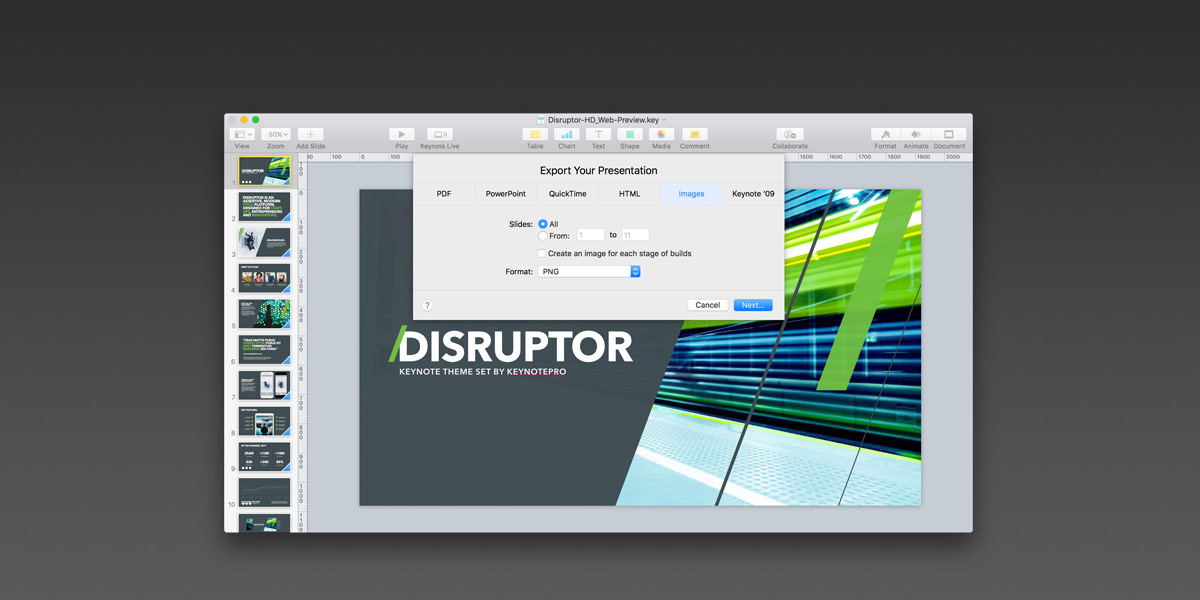
There are only a few steps involved with creating a Flat version of your presentation. We're using the file from the Disruptor sample movie here as a quick example. From the File menu, click on Export To and Images... to start the process:
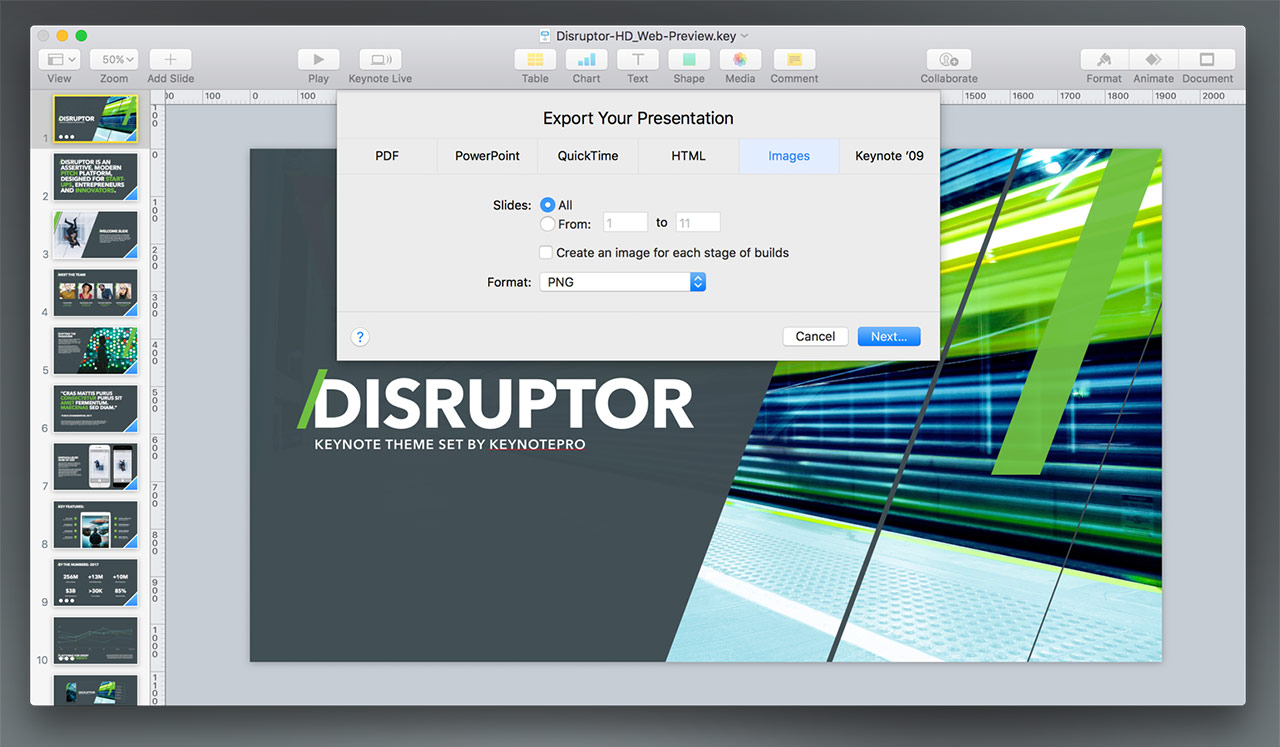
This will open the Image Export menu, which you may already be familiar with. If you're including any multi-step builds on your slides, be sure to check the "Create an image for each stage of builds" option. Select PNG as your Format, and click Next to select a location to save your exports.
Start a New presentation, and select the Black or White theme matching your exported presentation's aspect ratio - the Black and White themes have the smallest overhead in terms of file weight, so the resulting file you'll eventually share will come down to the amount of images you're inserting in terms of overall weight.
Open the folder containing the slides you exported in the previous step. Select all of the images in the folder, and drag them onto the navigator in your new presentation:

This will create a new slide for each slide image you're inserting into the new presentation automatically:

Delete Slide 1 to remove the original Title slide you started with - you'll be left with only the slide images you exported from your original presentation.
Now, you can add transitions between slides (or the build steps if you selected that option in the previous step). Again, Object Builds won't work here since you're transitioning between images instead of objects - so stick with simpler transition types like Cube or Doorway that work with the slides as a whole vs the individual objects. Also note that the transitions you add here won't appear during the Interactive Playback on your website - these will only appear for visitors who click the View in Keynote link to view your presentation on iCloud or in Keynote for iOS.
Once you've saved, you can Post Your Presentation following the steps in our previous guide. Visitors will be able to download a copy of this file via the process we outlined earlier, but since this version of your presentation is Flattened, they won't be able to make direct edits to your work in their offline copy of the file - it's essentially an image slideshow with bonus transitions now.
If you need to prevent download of your file entirely, SlideShare is your safest bet, though not without its own quirks, and there are a few more steps involved. We'll post an updated guide to sharing on SlideShare soon and link to it here.
This page will be updated as more information is available. Last Updated 04.11.2017


